The kitchen is the slowest, most fragile, and most awkward room to pack — which is why it's where most people get stuck. Dishes, glassware, small appliances, sharp knives, half-open pantry goods, and oddly-shaped cookware all need different handling. This guide gives you the room's full system: supplies, the order to work in, and the technique for each category, so the kitchen gets packed efficiently and arrives intact.
Start the Kitchen Early — and Get the Right Boxes
Pack the kitchen over a week or more, not the night before; it always takes longer than people expect. The boxes matter here more than anywhere:
- Dish-pack (double-wall) boxes for dishes and fragiles — the single-wall boxes that work for books will fail a kitchen.
- Cell/divider boxes for glasses and stemware — the cardboard grid does the protecting.
- Small boxes for heavy items (canned goods, small appliances) — never load a big box with heavy kitchen items; it'll bottom out.
- Lots of packing paper (clean, not newsprint) and bubble wrap. Kitchen kits bundle the right mix.
The Order to Work In
Pack from least- to most-used so the kitchen stays functional until the end: specialty appliances and serving pieces first, then everyday dishes and glasses, then pantry, and finally the daily essentials (a few plates, mugs, utensils) into a clearly-labeled "open first" box that comes off the truck first.
Dishes: Pack Them Like Records
Plates go vertically, on edge, like records in a crate — not stacked flat. Wrap each plate in paper, build a bundle, and stand them upright in a dish-pack box with crushed paper below, between, and above. On-edge plates survive road vibration that flat-stacked plates don't. Bowls nest in small groups, each wrapped. Fill every gap so nothing shifts.
Glassware and Stemware
Cell boxes are worth it here. Wrap each glass in paper (extra around the rim), stems double-wrapped, heaviest glasses on the bottom layer. If you don't have cell boxes, wrap thoroughly and pack upright with rigid dividers — glasses on their sides crack. Crystal and special stemware get the high-value treatment.
The Tricky Categories
- Knives: wrap blades in a towel or cardboard sheath, tape closed, and label clearly — an unwrapped knife in a box is how someone gets cut unpacking.
- Small appliances: original boxes if you kept them; otherwise pad well, tape cords, and box snugly. Empty and dry anything with water (coffee maker, kettle).
- Pots and pans: heavy but sturdy — nest them with paper between, lids wrapped separately, in medium boxes.
- Pantry goods: seal open boxes/bags in zip bags, pack canned goods in small boxes (heavy!), and toss or donate anything expired or perishable rather than moving it. Liquids (oils, vinegars) get bagged in case of leaks.
- Sharp and spillable together = trouble — keep them separated and labeled.
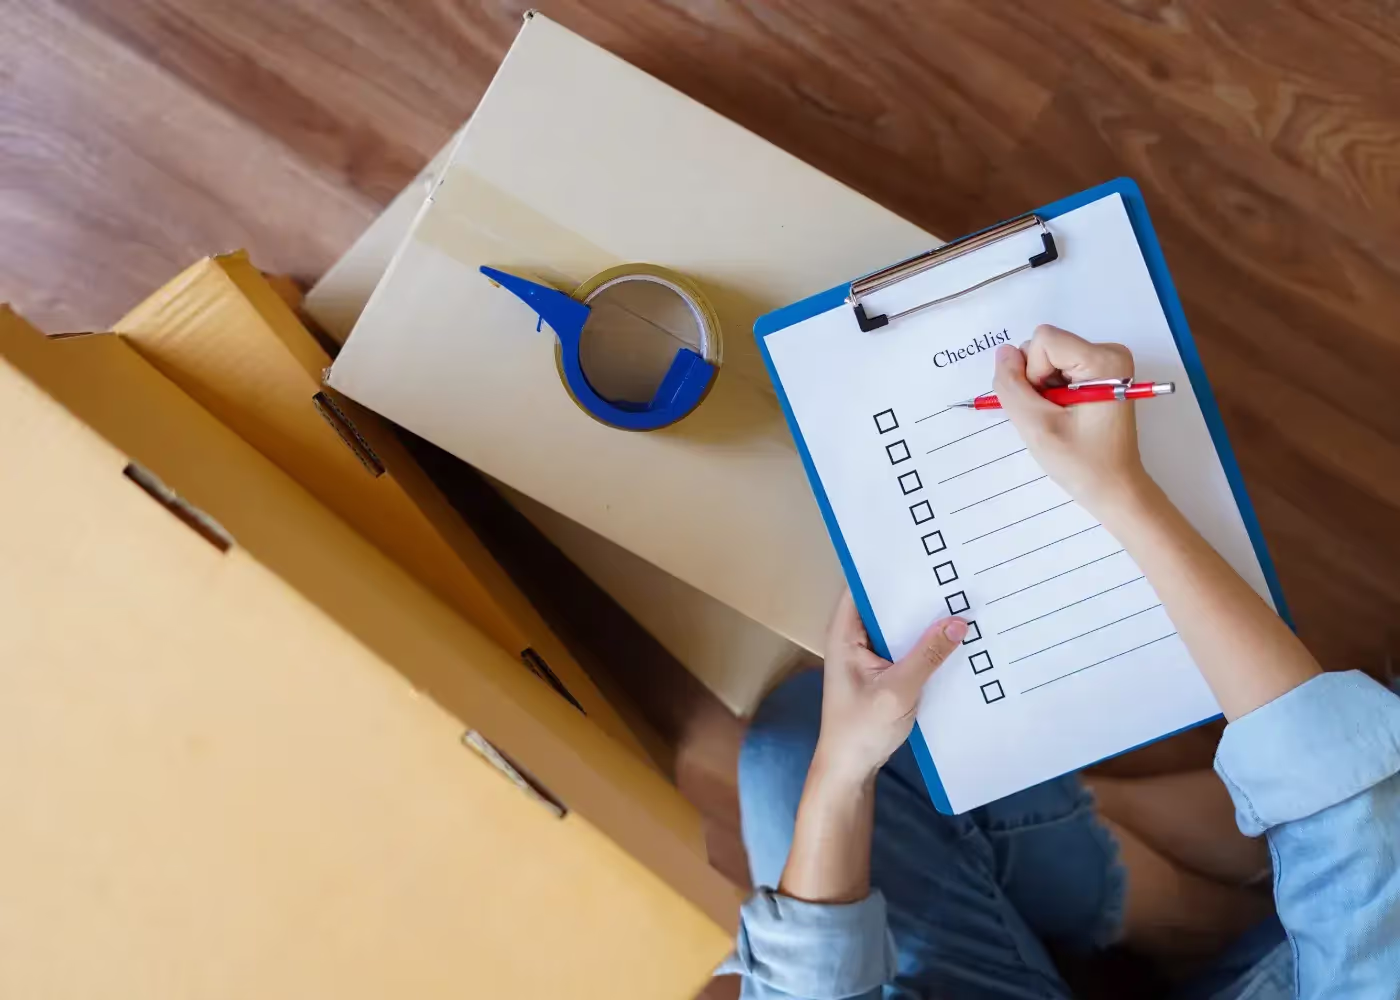
Label for the Unpack
Mark every kitchen box with contents and "FRAGILE" where it applies, on two sides (the labeling system). The "open first" kitchen box — kettle, a couple of plates and mugs, basic utensils, a sponge — is what gets you functional on night one without digging through ten boxes. Part of the move-in priority in the before-you-move-in checklist.
Or Let the Crew Do It
The kitchen is the room people most often hand to professional packers — it's the slowest and most breakable, and a trained packer does it fast with materials included, on the same hourly rate. A common split: you pack the bedrooms and living room, the crew packs the kitchen and fragiles.
Kitchen Packing FAQ
How long does it take to pack a kitchen?
A modest kitchen: several hours to a full day. A serious cook's kitchen: spread it over a week. It's reliably the slowest room.
How do I pack dishes so they don't break?
Vertically, on edge, each wrapped, in a double-wall dish-pack box with padding all around and no empty space. On-edge beats flat-stacked every time.
What do I do with food when moving?
Use up or donate perishables; pack sealed non-perishables in small boxes; bag anything that could leak. Movers can't take perishables or open liquids — see what movers won't move.
Want the kitchen packed by people who do it daily? Get a free quote — packing and moving on one honest rate. 949+ Google reviews since 2002.

Boston Best Rate Movers
The Boston Best Rate Movers team shares moving tips, Boston neighborhood guides, and cost-saving strategies drawn from 24+ years and 33,158+ completed moves across Greater Boston.
See All Posts